가이드에서는 아래와 같이 정의되어 있다.
| 표준 | <div class="gcse-search"> | 동일한 <div>에 표시되는 검색창 및 검색결과 즉 모든 요소를 구글 디자인으로 쓴다. |
| 2단 | <div class="gcse-searchbox"> 및 <div class="gcse-searchresults"> | 한쪽에는 검색결과가, 다른 한쪽에는 검색창이 있는 2열 레이아웃 웹페이지에서 두 열 모드로 여러 요소를 삽입하려면 gname 속성을 사용하여 검색창을 검색결과 블록과 페어링할 수 있습니다. 검색창과 검색결과를 구글 디자인으로 쓰되, 영역을 분리시킬 수 있다. |
| 검색창 전용 | <div class="gcse-searchbox-only"> | 독립형 검색창입니다. 검색창만 표시하고 검색 이후 구글 디자인으로 뿌려준다. |
| 검색결과만 | <div class="gcse-searchresults-only"> | 검색결과의 독립형 블록입니다. 검색결과만 구글 디자인으로 뿌려준다. |
<div class="gcse-searchresults-only"> 이 항목이 좀 강력해보인다.
결론적으로 검색창을 자유롭게 꾸며서 구글꺼로 받으면 될 것 같다.
먼저, 어느 정도의 프리셋은 얻을 수 있다.
https://programmablesearchengine.google.com/controlpanel/all?hl=ko
로그인 - Google 계정
이메일 또는 휴대전화
accounts.google.com
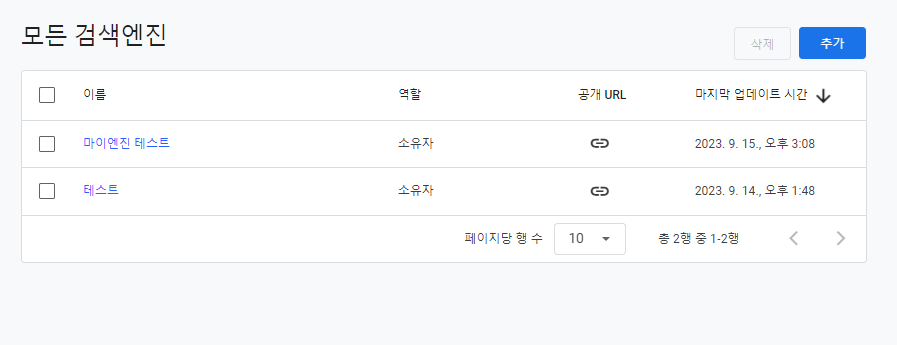
위 URL이 관리 페이지.

위 와 같이 엔진이 구성되어 있다고 가정하면, 엔진 이름을 클릭하면 아래와 같은 화면이 나온다.
접근 후 레프트 메뉴 > 디자인을 선택하면 아래와 같이 디자인 레이아웃 프리셋이 존재한다.

각 레이아웃을 선택하고 코드받기를 하면 아래와 같이 코드가 제공된다.
이 코드를 가지고 적용하면 끝..

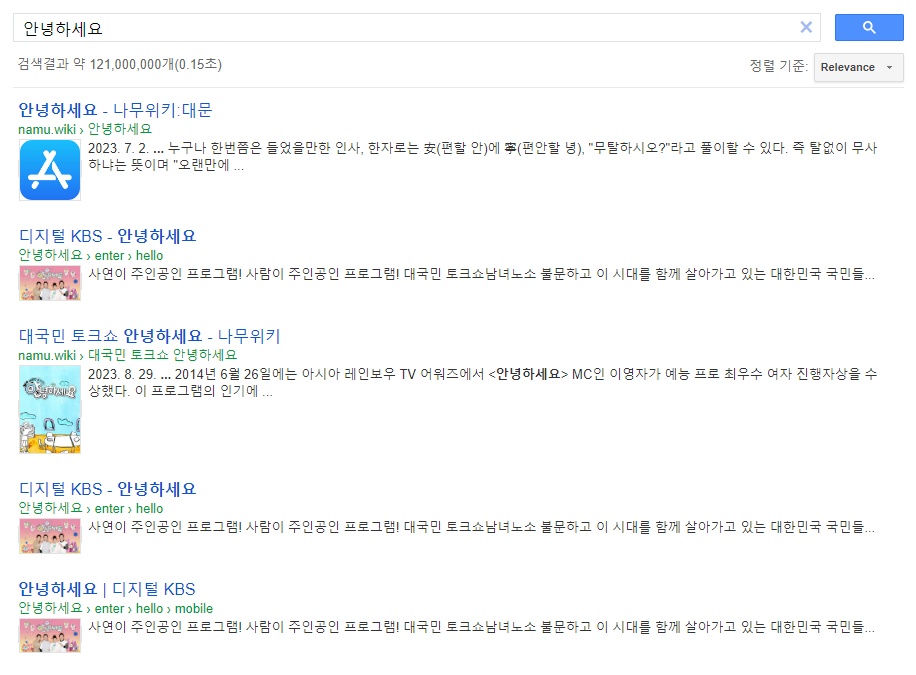
아 이제 이걸 기준으로 구글 검색을 구현하면 아래와 같이 구글 디자인으로 검색결과가 노출된다.
--- 기본 검색 디자인

--- 검색 페이지네이션

구글답게 깔끔하다..
여기서 커스텀이 끝일까?
--- 살짝 커스텀 검색 디자인

--- 살짝 커스텀 검색 페이지네이션

아래와 같이 CSS를 재정의해서 컨트롤할 수 있다.
물론 ! important 를 활용해서..
<style>
    .gsc-result-info { color: #902b2b !important;}
    a.gs-title,a.gs-title b  { color:#00a792 !important;}
    .gsc-results-wrapper-nooverlay.gsc-results-wrapper-visible {width: 50%}
    .gsc-input-box {border: none  !important;}
    input {
        font-size: 15px  !important;
        color: #222222  !important;
        width: 300px  !important;
        border: none  !important;
        border-bottom: solid #aaaaaa 1px  !important;
        padding-bottom: 10px  !important;
        padding-left: 10px  !important;
        position: relative  !important;
        background: none  !important;
        z-index: 5  !important;
    }
    input::placeholder { color: #aaaaaa !important; }
    input:focus { outline: none !important; }
    .gsc-results .gsc-cursor-box .gsc-cursor-page {
        display: inline-block  !important;
        font-weight: 400  !important;
        position: relative  !important;
        margin: 0 3px  !important;
        padding: 2px 8px  !important;
        font-size: 1.2rem  !important;
        color: #ccc  !important;
        line-height: normal  !important;
        text-decoration: none  !important;
        vertical-align: middle  !important;
    }
    .gsc-results .gsc-cursor-box .gsc-cursor-page.gsc-cursor-current-page {
        color: #1a73e8  !important;

    }
</style>
검색착 커스텀은 어느 굉장한 운동과 개발을 좋아하시는 분의 CSS를 가져옴.
다만, 검색창의 경우, <div class="gcse-searchresults-only">로 사용하면, 검색창을 온전히 자유롭게 구성할 수 있다.
하지만, 전체적으로 온전히 Custom하기에는 무리가 있기 때문(넘빡시다)에, Google Custom Search JSON API가 있다.
하지만, 일일 100개 무료제한. 유료모드는 1000쿼리당 $5...
그 마저도 Google Custom Search Site Restricted JSON API가 일일 유료 제한이 없고,
Google Custom Search JSON API는 유료에서도 하루에 10000쿼리 제한이 있다.

하지만, 위에 설명한 방법 말고도 방향성은 더 존재한다.
노오오력을 해보고 Programmable Search Engine만으로도 커스텀을 진행해보자.
Programmable Search Engine은 무료에 일일 제한도 없다.
아 그런데.. 검색결과에 광고가 끼워진다.. (공공기관같은 기관을 입증하면 제거해주긴 한다.)
.gsc-adBlock { display: none !important;}그 마저도 이걸 정의해주니까 깔끔하게 제거 됨. 꿀..


댓글